This guide walks you through the process of developing a simple add-on for Firefox for Android. The add-on adds a menu item to display the source of the current web page.
If you're familiar with developing add-ons for desktop Firefox, much of this guide will not be new to you.
The add-on is a restartless, also known as a bootstrapped, add-on: although Android add-ons don't have to be restartless, there's not much incentive to write overlay-based add-ons, since with Firefox for Android you can't create your user interface using a XUL overlay.
For some example code to get started, you can copy the native ui boilerplate add-on from github.
Implementation
To get started, created a directory called "view-source": this is where we'll keep the files for the add-on. The add-on will consist of just two files:
install.rdf: this contains metadata for the add-onbootstrap.js: this is where all the code lives
install.rdf
Every Firefox add-on must contain an Install Manifest file named install.rdf: this contains metadata such as the add-on's identifier, its author, and its target application.
For this add-on, save the following as install.rdf directly under your "view-source" directory:
<?xml version="1.0"?>
<RDF xmlns="https://www.w3.org/1999/02/22-rdf-syntax-ns#" xmlns:em="https://www.mozilla.org/2004/em-rdf#">
    <Description about="urn:mozilla:install-manifest">
        <em:id>[email protected]</em:id>
        <em:type>2</em:type>
        <em:name>View Source Add-on</em:name>
        <em:version>1.0</em:version>
        <em:bootstrap>true</em:bootstrap>
        <em:description>View Source add-on for Firefox for Android (Native)</em:description>
        <em:creator>John Smith</em:creator>

        <!-- Mobile Native -->
        <em:targetApplication>
            <Description>
                <em:id>{aa3c5121-dab2-40e2-81ca-7ea25febc110}</em:id>
                <em:minVersion>25.0</em:minVersion>
                <em:maxVersion>31.*</em:maxVersion>
            </Description>
        </em:targetApplication>
    </Description>
</RDF>
To learn about all these fields and more, see the Install Manifest documentation. In particular:
<em:id>[email protected]</em:id>is the unique identifier for this add-on<em:bootstrap>true</em:bootstrap>indicates that this is a restartless add-on<em:id>{aa3c5121-dab2-40e2-81ca-7ea25febc110}</em:id>indicates that it is aimed at Firefox for Android
bootstrap.js
Restartless add-ons must contain a file called "bootstrap.js". For more details of "bootstrap.js" refer to the bootstrapped extensions documentation.
Implementing the UI
We'll use the template "bootstrap.js" code presented in the guide to initialization and cleanup. Copy this code into a new file called "bootstrap.js", and add implementations of the following two functions:
loadIntoWindow()to initialize our add-on. In this case that just means adding a new menu item to Firefox for Android's main menu.unloadFromWindow()to clean up any changes we've made to Firefox. In this case that means removing the menu item.
var menuId;

function loadIntoWindow(window) {
  if (!window)
    return;
  menuId = window.NativeWindow.menu.add("View Source", null, function() {
    viewSource(window);
  });
}

function unloadFromWindow(window) {
  if (!window)
    return;
  window.NativeWindow.menu.remove(menuId);
}
We're using the NativeWindow's menu object to add the menu item.
You don't need to call loadIntoWindow() or unloadFromWindow() yourself: the template code calls them at the right time inside the startup() and shutdown() functions.
Implementing behavior
Finally we need to implement the viewSource() function. We'll use the BrowserApp addTab() method to open a new tab, loading into it the currently selected tab's URI with "view-source:" prepended to it:
function viewSource(window) {
  window.console.log("[email protected]: displaying source for " + window.content.location.href);
  window.BrowserApp.addTab("view-source:" + window.content.location.href);
}
Add this function into "bootstrap.js", and we've finished implementing the add-on.
To package the add-on, zip up these two files and rename the result to "view-source.xpi". Note that you have to zip up the files themselves, and not their containing directory.
To see what the resulting XPI should look like, have a look at the attached example.
Testing
There are currently two ways to test a Firefox for Android add-on:
- using the Android emulator
- using a real Android device connected to your computer over USB
In this walkthrough we'll describe the second approach.
Setting up the environment
First you'll need an Android device capable of running Firefox for Android. Then:
- install Firefox for Android on the device.
- enable USB debugging on the device (step 2 of this link only)
On the development machine:
- install the correct version of the Android SDK for your device
- using the Android SDK, install the Android Platform Tools
Next, attach the device to the development machine via USB.
Now open up a command shell. Android Platform Tools will have installed adb in the "platform-tools" directory under the directory in which you installed the Android SDK. Make sure the "platform-tools" directory is in your path. Then type:
adb devices
You should see some output like:
List of devices attached
51800F220F01564 device
(The long hex string will be different.)
If you do, then adb has found your device and you can get started. The Android Debug Bridge (adb) has a lot of useful commands, but in this walkthrough we'll use just two:
adb push: to copy the add-on to the deviceadb logcat: to get debug output sent to the command line
Installing the add-on
You have two ways to install your addon. The simplest is to upload your xpi to your site and make it accessible via HTTP. This will always work.
The second way is via ADB, and not all devices install it well (eg: Motorola Atrix). To install the add-on this way execute an adb command like:
/path/to/adb push /path/to/view-source.xpi /mnt/sdcard/
Next, open Firefox for Android and go to file:///mnt/sdcard:

Tap on "view-source.xpi" and follow the prompts to install it.
Alternately, you can automate this step with the following command:
/path/to/adb shell am start -a android.intent.action.VIEW \
                            -c android.intent.category.DEFAULT \
                            -d file:///mnt/sdcard/view-source.xpi \
                            -n org.mozilla.firefox/.App
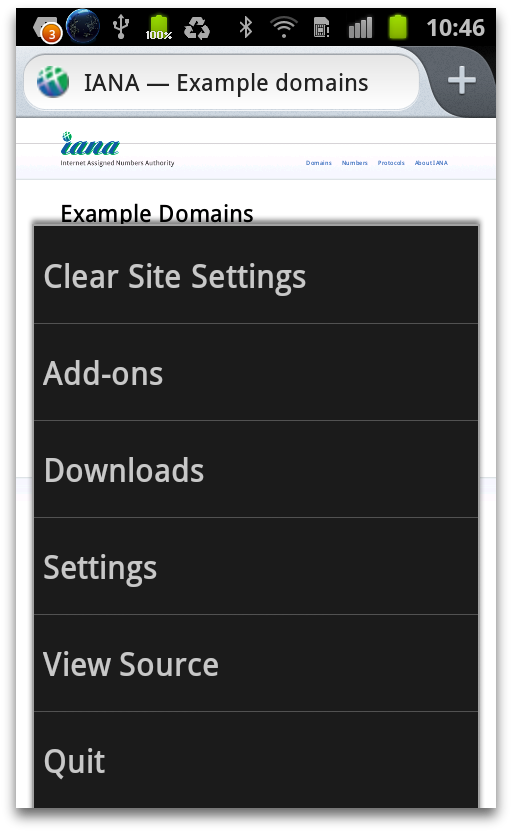
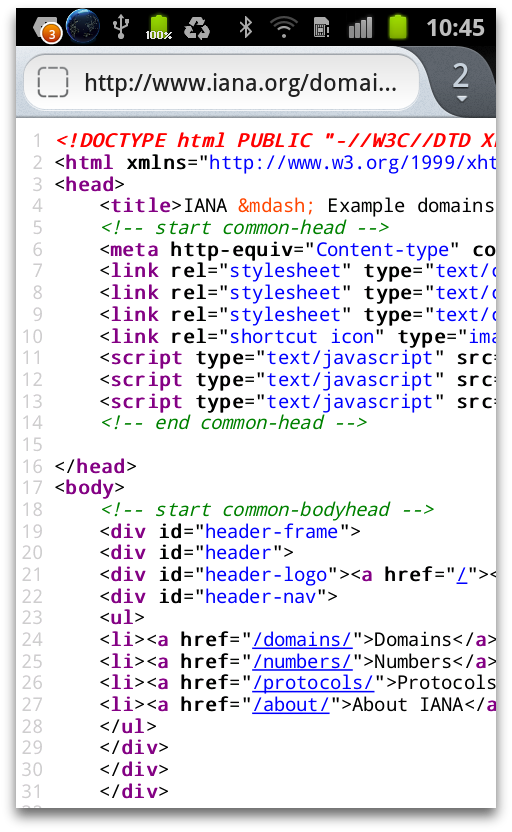
Running the add-on
To try out the add-on just show the main menu and select "View Source", and you'll see the source for the page:
Logging
The adb logcat command prints the Android debug log to the command line as log messages are generated. The device generates a lot of logging, so it can help to filter the output, which you can do by piping the output through grep. For example, this command will display only debug messages from Firefox:
/path/to/adb logcat | grep Gecko
Messages you have logged using the console also appear here. To see only these messages you could prefix them with something unique and filter for that string. For example, the "view-source" add-on logs a message when it's about to open the new tab, prefixed with the add-on ID "[email protected]":
function viewSource(window) {
  window.console.log("[email protected]: displaying source for " + window.content.location.href);
  window.BrowserApp.addTab("view-source:" + window.content.location.href);
}
To see only these messages we can filter for the add-on ID:
/path/to/adb logcat | grep [email protected]
This will give us output like this:
E/GeckoConsole(13176): [email protected]: displaying source for https://www.iana.org/domains/example/